


Last Updated By: Jason Siu, December 2017
Purpose: Configure student email access on your iOS device.
Process:
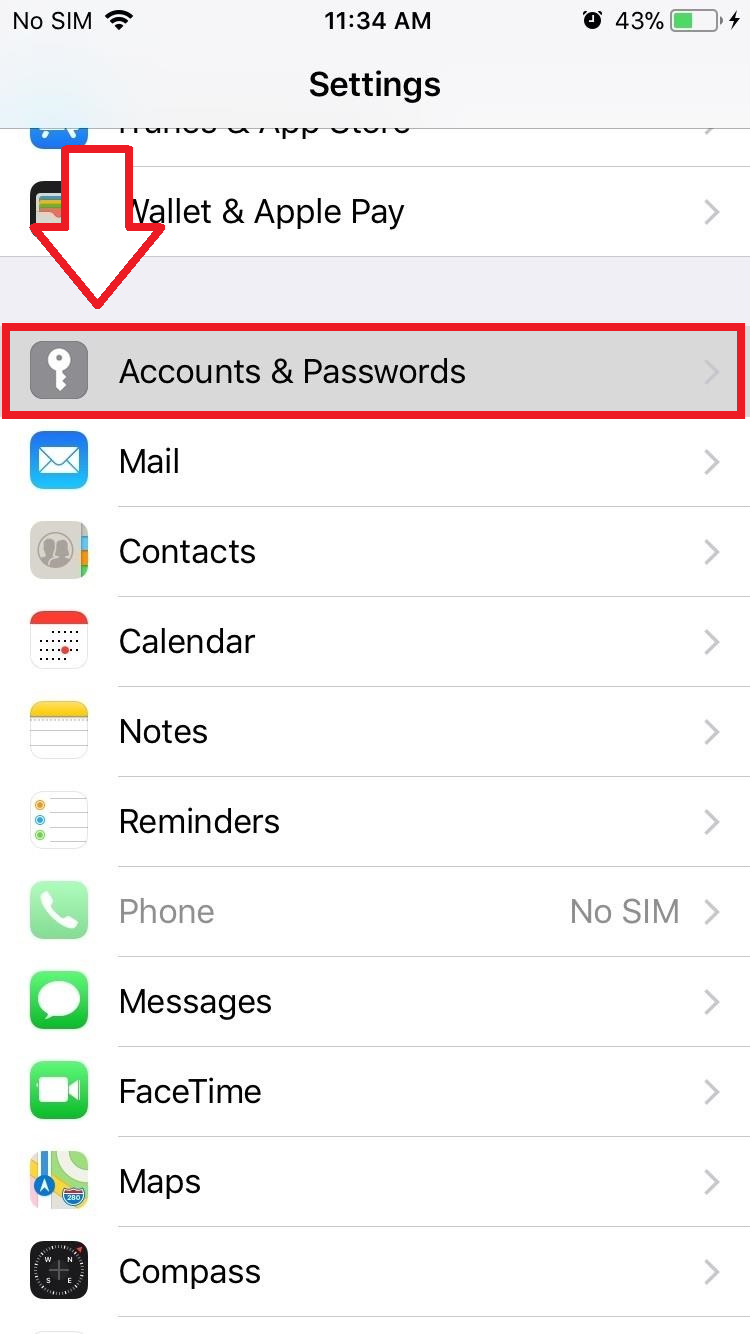
For iOS 11 (For iOS 10 and below, scroll down)
1. Open Settings

2. Go to Accounts & Passwords
3. Tap Add Account
4. Tap Outlook (or your desired email provider)
5. Enter your username (ex: jsmith@masters.edu)
Enter your password
6. Tap Next
7. Your email account is now active!
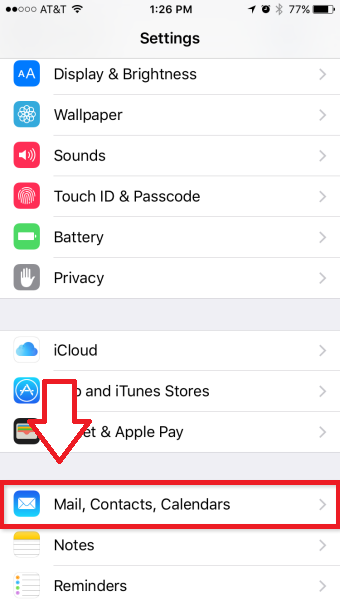
iOS 10 or earlier
1. Open Settings

2. Go to Mail, Contacts, Calendars
3. Tap Add Account
4. Tap Exchange
5. Enter the following information:
Username: jsmith@masters.edu
Password: <your current password>
Description: "Master's" or "Student"
6. Tap Next
7. Turn on all the features you wish to have available and tap Save
8. Test to ensure that you are receiving emails.

